html 문법 전체를 아실 필요는 없습니다. 이해가 되지 않아도 되니 따라만 하셔도 됩니다.
html 태그 따라하기
배경색 넣기
<style> 태그는 HTML 문서의 스타일 정보를 정의할 때 사용하며 아래와 같이 <head> 태그 사이에 넣어서 사용합니다.
<head>
	<style>
		body {
			background-color: blueviolet;
		}
		h1 {
			color: white;
			text-decoration: underline;
		}
	</style>
</head>
- body { background-color: blueviolet } : body의 배경색에 blueviolet을 적용한다는 의미입니다. 색상을 바꾸고 싶다면 blueviolet 대신 다른 color를 입력하면 됩니다.
- h1 { color: white; text-decoration : underline} : 텍스트의 폰트 색을 red로 하고, underline을 적용하라는 의미입니다.
- 색을 적용할 때는 RGB 값을 적용해도 됩니다.
body {
	background-color: #8a2be2;
}
위에 있는 style 태그를 index.html에 추가하고 파일을 저장합니다.
<!DOCTYPE html>
<html>
    <head>
        <meta charset="UTF-8" />
        <meta http-equiv="X-UA-Compatible" content="IE=edge" />
        <meta name="viewport" content="width=device-width, initial-scale=1.0" />
        <meta property="og:title" content="DUBU-SW미래채움강사" />
        <meta property="og:description" content="즐거운 SW 교육을 만들어 갑니다." />
        <meta property="og:image" content="이미지" />
        <title>SW강사 프로필</title>
        <style>
            body {
            	background-color: blueviolet;
            }
            h1 {
            	color: white;
                text-decoration: underline;
            }
        </style>
    </head>
    <body>
        <h1>PBL 기반의 즐거운 SW 교육을 만들어 갑니다.</h1>
    </body>
</html>
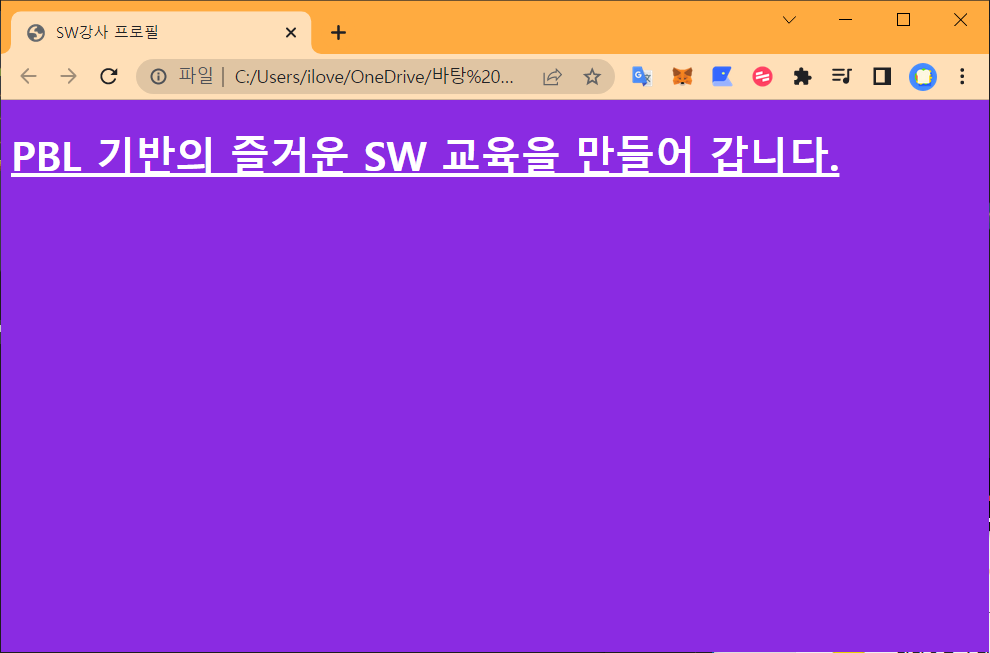
그리고, index.html 파일을 새로 고침하면 아래와 같이 style이 적용된 것을 확인 할 수 있습니다.

html 배경색 바꾸기, 참 쉽죠 ^^
다음 과정은 프로필 영역 만들기를 하겠습니다.
프로필 영역 만들기
아래 코드를 복사해서 index.html 파일에 넣어주세요. index.html 파일이 있는 디렉토리에 프로필 이미지를 넣어주세요. 예제 이미지 파일을 다운로드받아 테스트해 보세요. < 프로필 이미지 파일 다운로드 >
<!DOCTYPE html>
<html>
    <head>
        <meta charset="UTF-8" />
        <meta http-equiv="X-UA-Compatible" content="IE=edge" />
        <meta name="viewport" content="width=device-width, initial-scale=1.0" />
        <meta property="og:title" content="DUBU-SW미래채움강사" />
        <meta property="og:description" content="즐거운 SW 교육을 만들어 갑니다." />
        <meta property="og:image" content="이미지" />
        <title>SW강사 프로필</title>
        <style>
            body {
            	background-color: blueviolet;
            }
            .profile {
                width: 100px;
                height: 100px;
                background-color: white;

                border-radius: 100%;
                border: 2px solid gray;

                background-image: url('chow_1.gif');
                background-position: center;
                background-size: cover;
            }
        </style>
    </head>
    <body>
        <div class="profile"></div>
    </body>
</html>
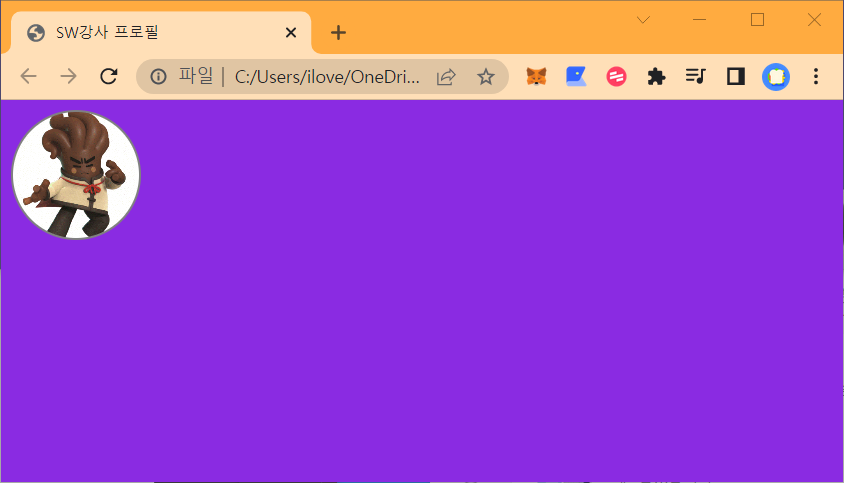
index.html 을 새로 고침하면 아래와 같이 적용된 화면이 나옵니다.

원형의 프로필 영역이 생겼고, 그 안에 캐릭터 이미지가 들어간 모습입니다.
새로 사용한 태그에 대해 알아보겠습니다.
프로필 영역을 만들기 위해 <div> 태그를 사용했고, profile 이라는 class를 새로 만들었습니다.
<head>
	<style>
		.profile {
		}
	</style>
</head>
<body>
	<div class="profile"></div>
</body>
profile을 보면
- width 100px, height 100px : 폭과 너비 100px의 박스를 만듭니다
- background-color : 박스의 배경색 white 지정
- border-radius : 100% : 박스를 원으로 만들어 줍니다
- border : 2px solid gray : 원의 테두리 두께는 2xp로, 색은 gray 지정
            .profile {
                width: 100px;
                height: 100px;
                background-color: white;

                border-radius: 100%;
                border: 2px solid gray;

                background-image: url('chow_1.gif');
                background-position: center;
                background-size: cover;
}- background-image : 백그라운드에 chow_1.gif 를 적용
'SW.AI 트랙' 카테고리의 다른 글
| 인공지능 교육자료를 찾아볼 수 있는 사이트 모음 (0) | 2022.07.29 |
|---|---|
| 초중고 AI교육의 필요성, 교육도구와 활용방안 (0) | 2022.07.14 |
